HomeBlogSeason Passes for a Venue With WooCommerce: Guest Passes and Cooldowns
Season Passes for a Venue With WooCommerce: Guest Passes and Cooldowns
Set up WooCommerce season passes with cardholder photos, guest passes and scan cooldowns, plus the limits to check before selling.
 By Mac
Builds the PluginLab plugins
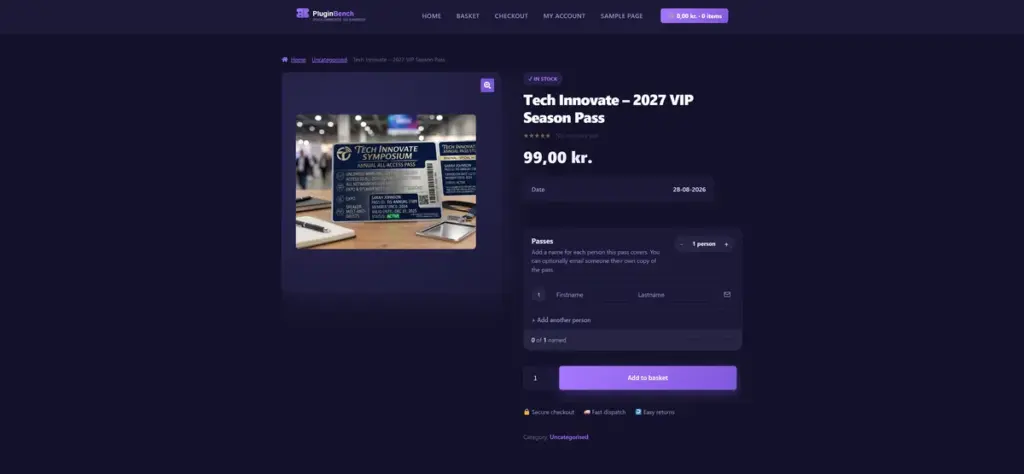
A season pass is not just a ticket with a longer expiry date. You need to decide who can use it, whether the holder can bring a guest, and what happens when someone presents the same code again at the entrance.
I built Tickets & Passes for WooCommerce with a separate Pass product type for admission across a period. It supports guest passes, cardholder photos and a cooldown between scans. Here is how I would plan a WooCommerce season pass for a venue without confusing admission with a broader membership system.
Choose a Pass, not a dated ticket
The plugin adds Ticket, Timeslot Ticket and Pass to WooCommerce's Product data dropdown. A Ticket is plain admission with a validity window and a set number of uses. A Timeslot Ticket is for a particular date and time, with capacity per slot. A Pass is valid across a period, which suits season passes and annual admission cards.
I would choose the product type from the admission rule, not the marketing name. If each visit must reserve a specific session, look at Timeslot Tickets instead. Do not assume that calling a product a membership makes it a reservation system.
Set up the product and the entrance
The WordPress.org readme documents the setup. WooCommerce must already be active, and the phone scanner needs HTTPS for camera access.
- Install and activate Tickets & Passes with WooCommerce active.
- Open Ticket & Passes → Settings and enable the Pass product type on its tab.
- Create a product under Products → Add New and choose Pass in Product data. Set the validity and uses for the admission you intend to sell.
- On Scanner / API, enable the built-in scanner. Leave the external API off unless you use an external scanner app; the built-in scanner does not require it.
- Give door staff the Scanner role and have them open
/check-in/on your domain.
Before selling publicly, I would make a test purchase and follow it through from checkout to check-in. Check the holder details, the validity you intended, and what staff actually see on their phone.
Use the photo as a human check
A pass can carry a cardholder photo collected at purchase. At check-in, staff see that photo beside the scan result and can compare it with the person at the door. The QR code identifies the pass; the photo gives staff another piece of information.
This is not a promise of automatic identity verification. I would write a simple entrance procedure explaining when staff should compare the photo and what to do if the person does not match. Test that procedure with the people who will use it, not just the administrator who configured the product.
Guest passes and repeat scans solve different problems
A Pass can include guest passes that the holder gives away from their account page. That provides a guest route without treating the main holder's QR code as something everyone should share.
A cooldown does something different: it prevents the same pass code being scanned again immediately. The product also determines the maximum number of uses. I would decide those rules before advertising the pass, then test repeat entry against the intended policy.
Do not describe a cooldown as a complete sharing-prevention system. It is a rule about repeat scans. The cardholder photo, the guest allowance and the staff procedure address different parts of the admission process.
What customers and staff receive
Customers find their passes in the Passes tab of WooCommerce My Account, with an on-screen QR code and a printable PDF. Live status shows whether a pass is active, used, expired, cancelled or not valid yet, along with uses remaining. WooCommerce order emails are extended with pass details.
At the entrance, staff log in to the scanner page, allow camera access and point it at the code. The scanner shows who it belongs to; staff tap Check In to confirm or Cancel to scan again. For an unreadable code, the scanner menu offers manual entry. The admin dashboards also provide manual check-in.
Every scan is checked against your server. The phone needs a connection, and the scanner does not work offline. I would test reception at the actual entrance rather than assume a successful office test covers the door.
What can break, and how to undo a trial
Incorrect validity, use limits or cooldown rules can make the entrance behave differently from the promise on the product page. A missing connection prevents live validation, and camera access requires HTTPS. Test those conditions before a busy opening.
To stop a trial, deactivate the plugin. The readme says deactivation clears its scheduled tasks but leaves settings and records intact; reactivation picks up where you left off. Admission features stop while it is inactive, so this is not something to do while customers are relying on them.
Deletion is different: settings, scheduled tasks and the Scanner role are removed, while tickets, passes and check-in records are kept by default. The readme also documents an optional permanent-data deletion setting. Do not enable that to undo a trial; permanent removal cannot be undone. Keep a backup before testing removal.
When another approach is better
If your membership requirement is recurring billing or access to restricted website content, this admission walkthrough is not evidence that those features are included. Choose tooling that explicitly documents the job you need. Likewise, a venue that requires offline scanning needs a different check-in approach.
For period-based admission sold through an existing WooCommerce shop, I would start with a Pass, test the holder and guest paths separately, and make sure the entrance rules match the offer before taking real orders.